How to set up a workspace?
Each workspace is dedicated to one business plan, allowing you to concentrate your efforts and streamline your work.
Despite this, users have the flexibility to create multiple workspaces for different projects, easily switching between them as needed.
How to add and set up a new workspace?
Setting up a new workspace is a straightforward process designed to get users up and running quickly.
- 1
-
Once you've joined the workspace through the invitation, start setting up your workspace.
Upload your workspace logo to the given field.
-
- Workspace Logo: In the Workspace section, upload your business logo.
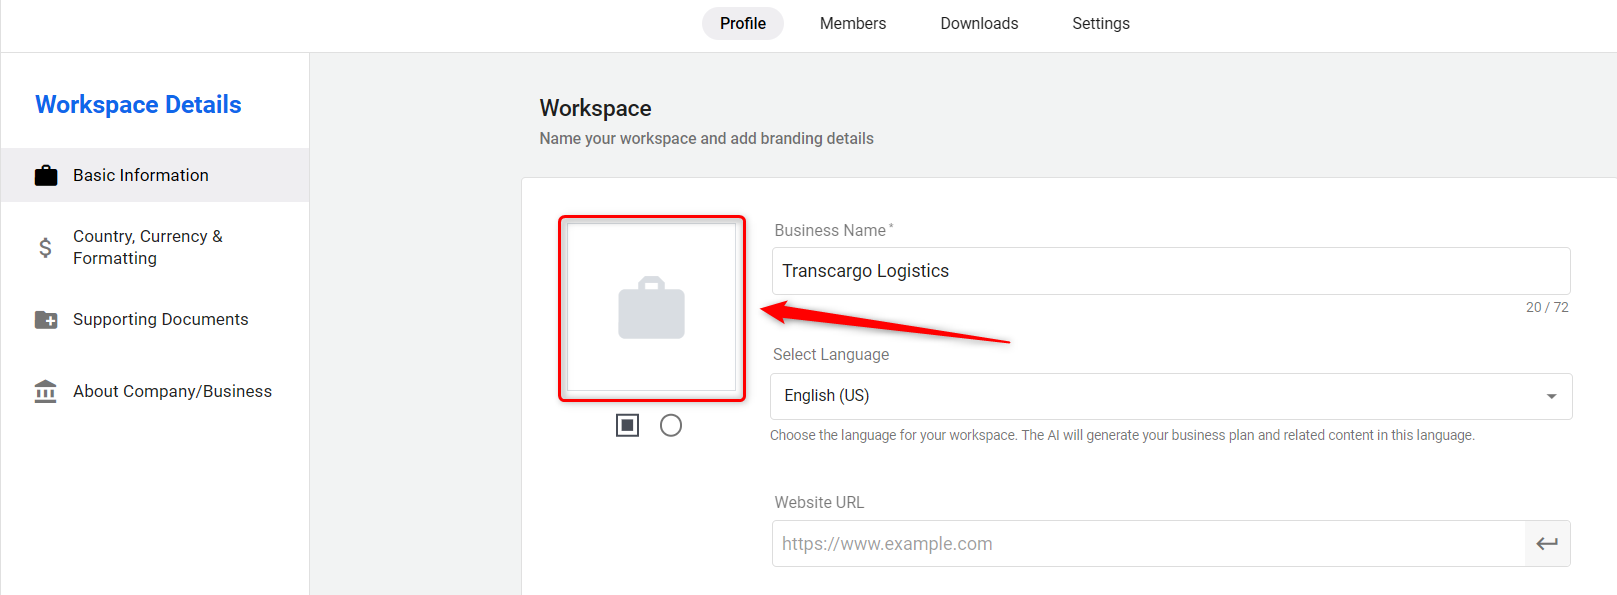
- Website URL: Enter your website URL; this will auto-fetch your business details and populate the What does your business do? section. You can review, edit, or customize this information as needed.
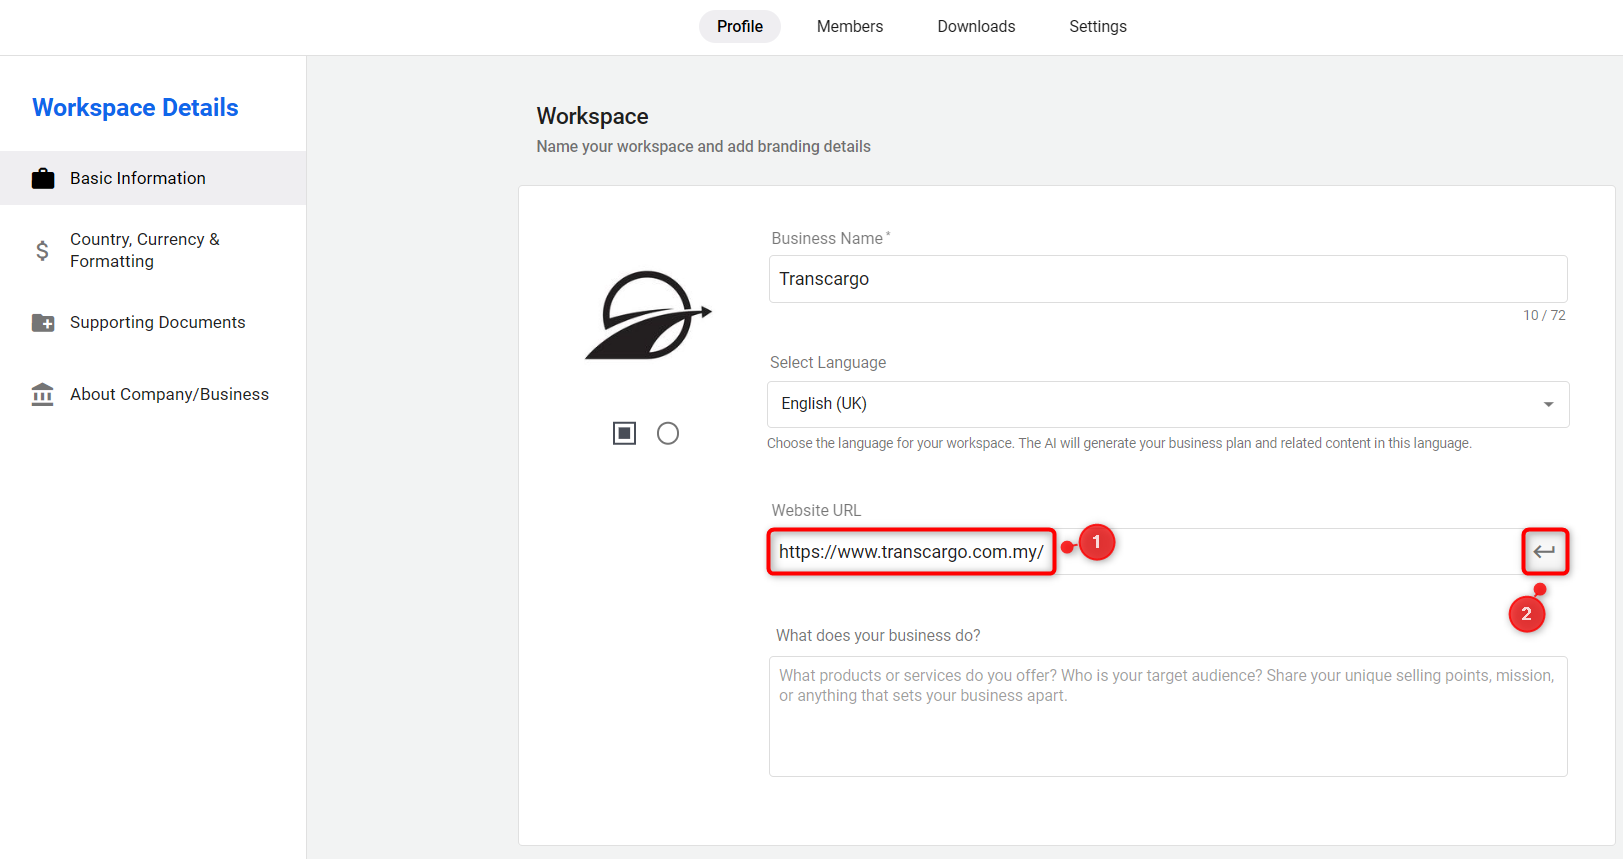
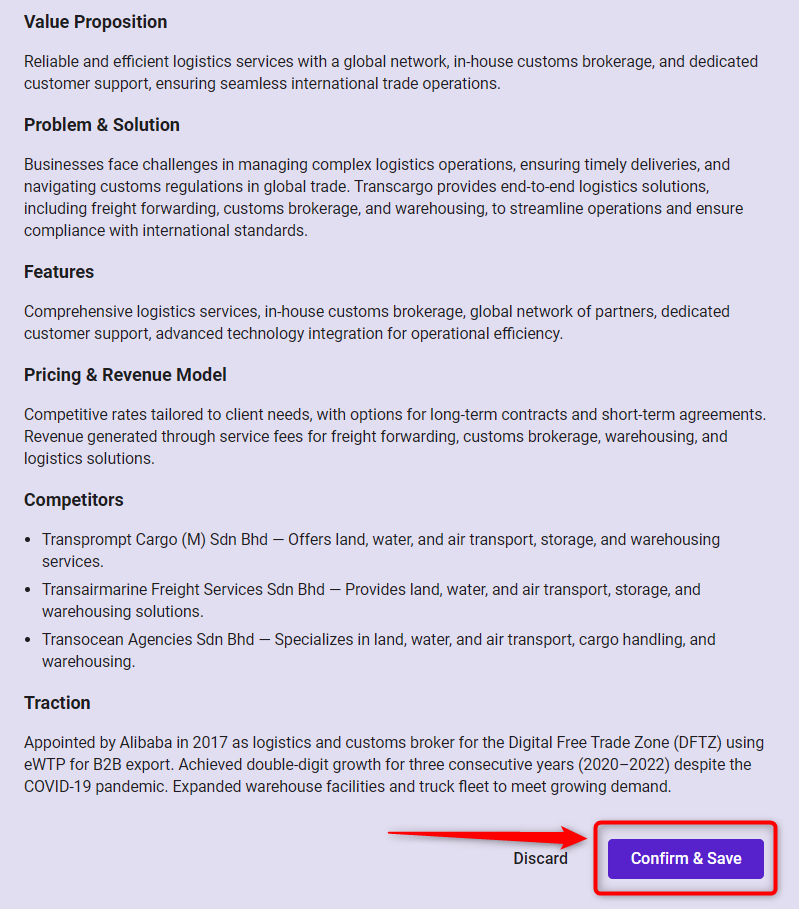
- What does your business do?: Here, you can enter a description of your business, including your services, mission, and target audience.

Click on Next to move forward.
- Workspace Logo: In the Workspace section, upload your business logo.
- 4
-
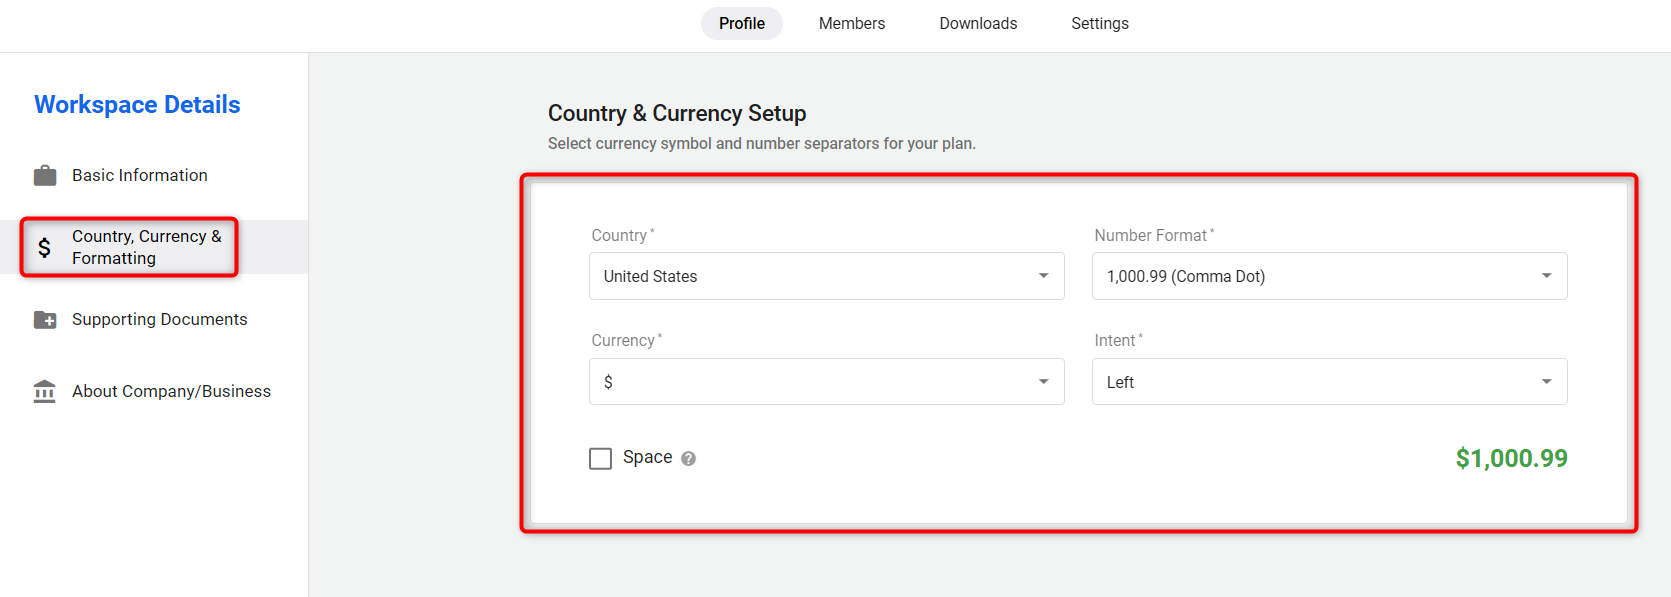
In the Country & Currency section, configure your Country, and the system will automatically apply the corresponding currency.
You can also customize:
- Number Format (e.g., comma/dot separator)
- Currency Positioning (Left or Right of the number)
- Space between symbol and amount (optional)
Once you've set your preferences, click Next to proceed to the next step.
- 5
-
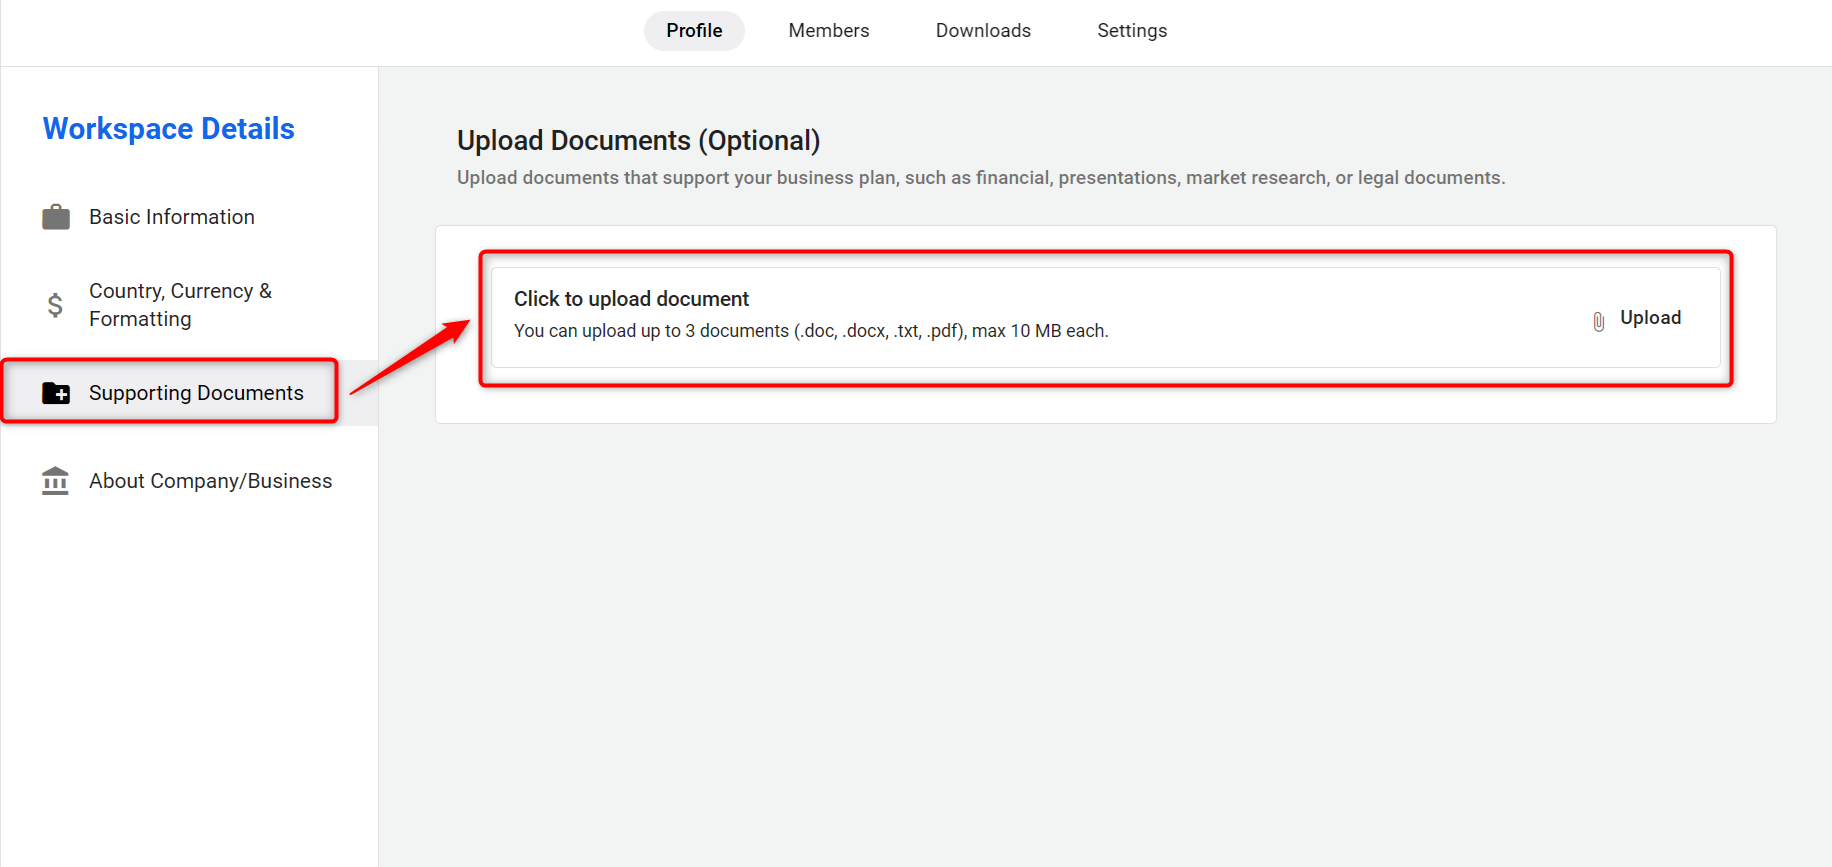
In the Supporting Document section, You can attach supporting documents to provide more insights about your business, which helps the AI generate a more accurate and tailored business plan.
- 6
-
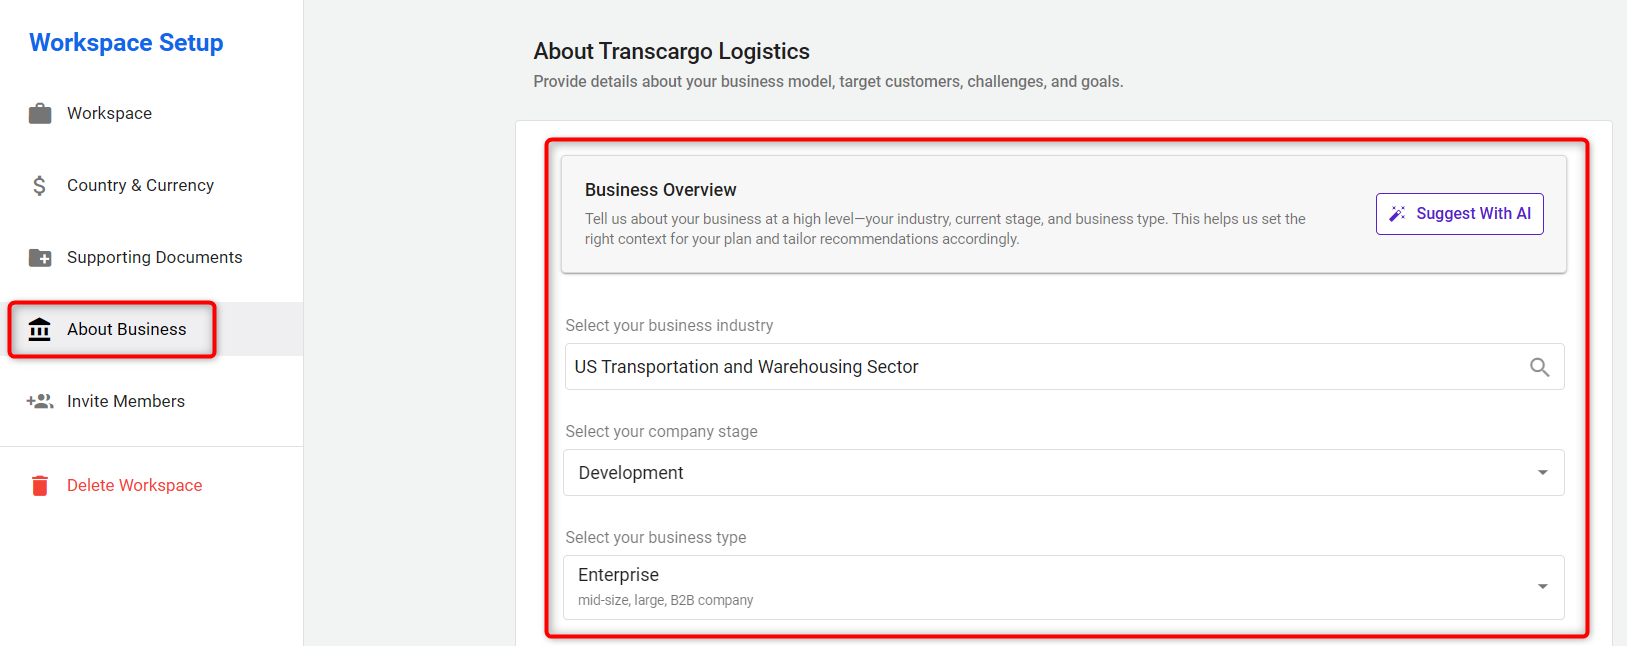
The About Business section utilizes AI Assistance to better tailor your business plan.
Fill in the following details under the About Business section:
- Business Industry: Select the industry your company operates in.
- Company Stage: Indicate whether your business is in the idea, startup, growth, or established stage.
- Business Type: Choose your company's legal formation type, such as Start up or Enterprise.
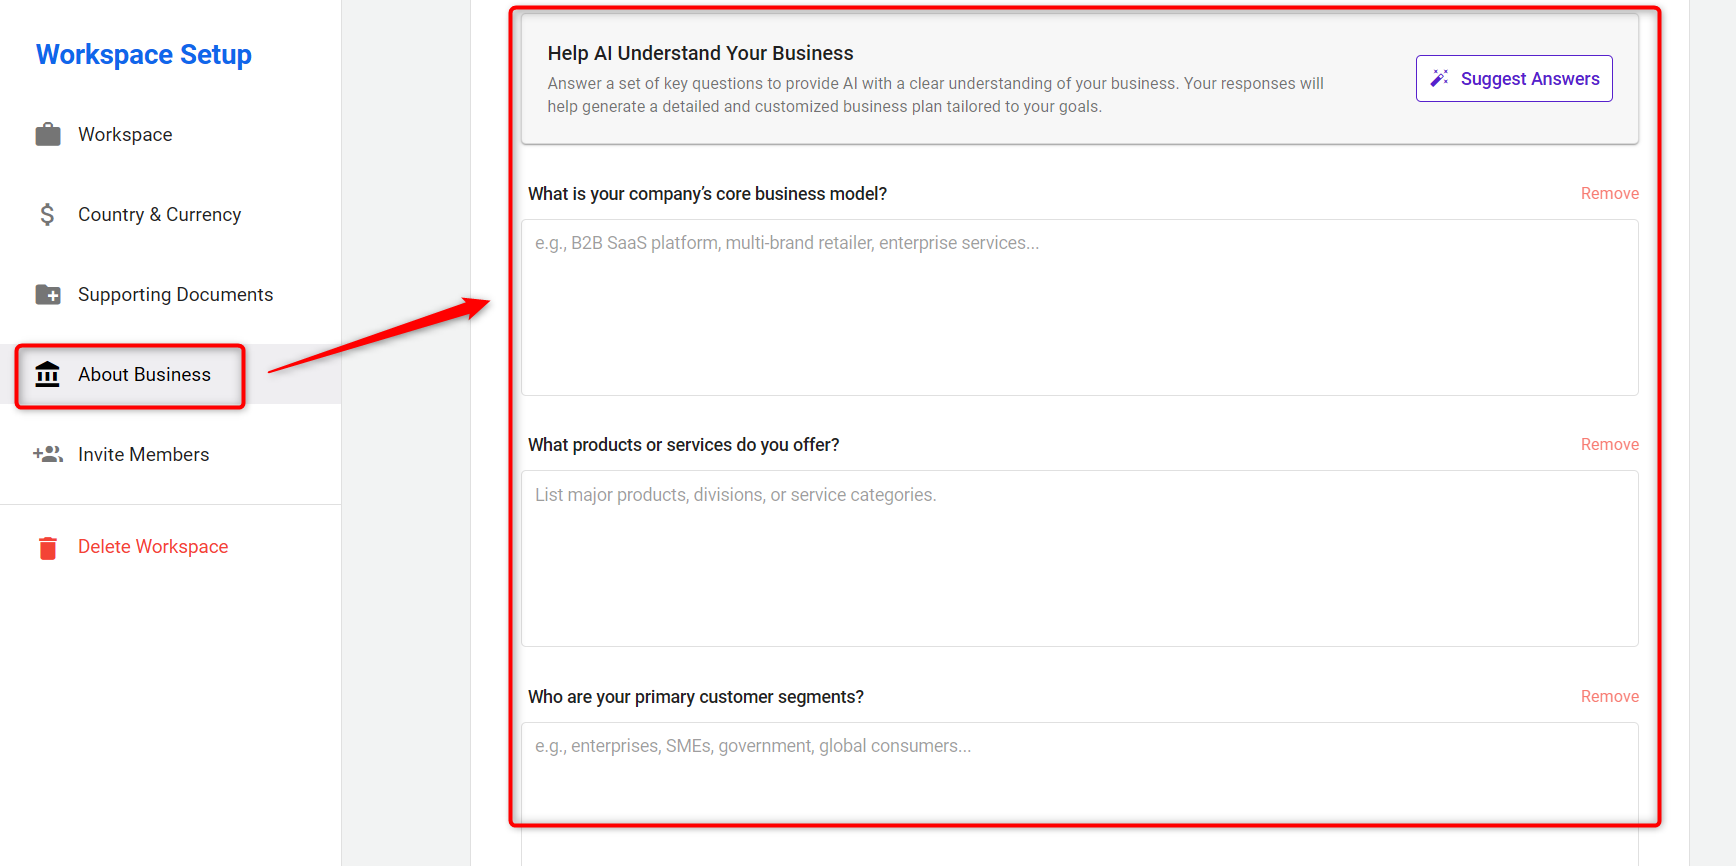
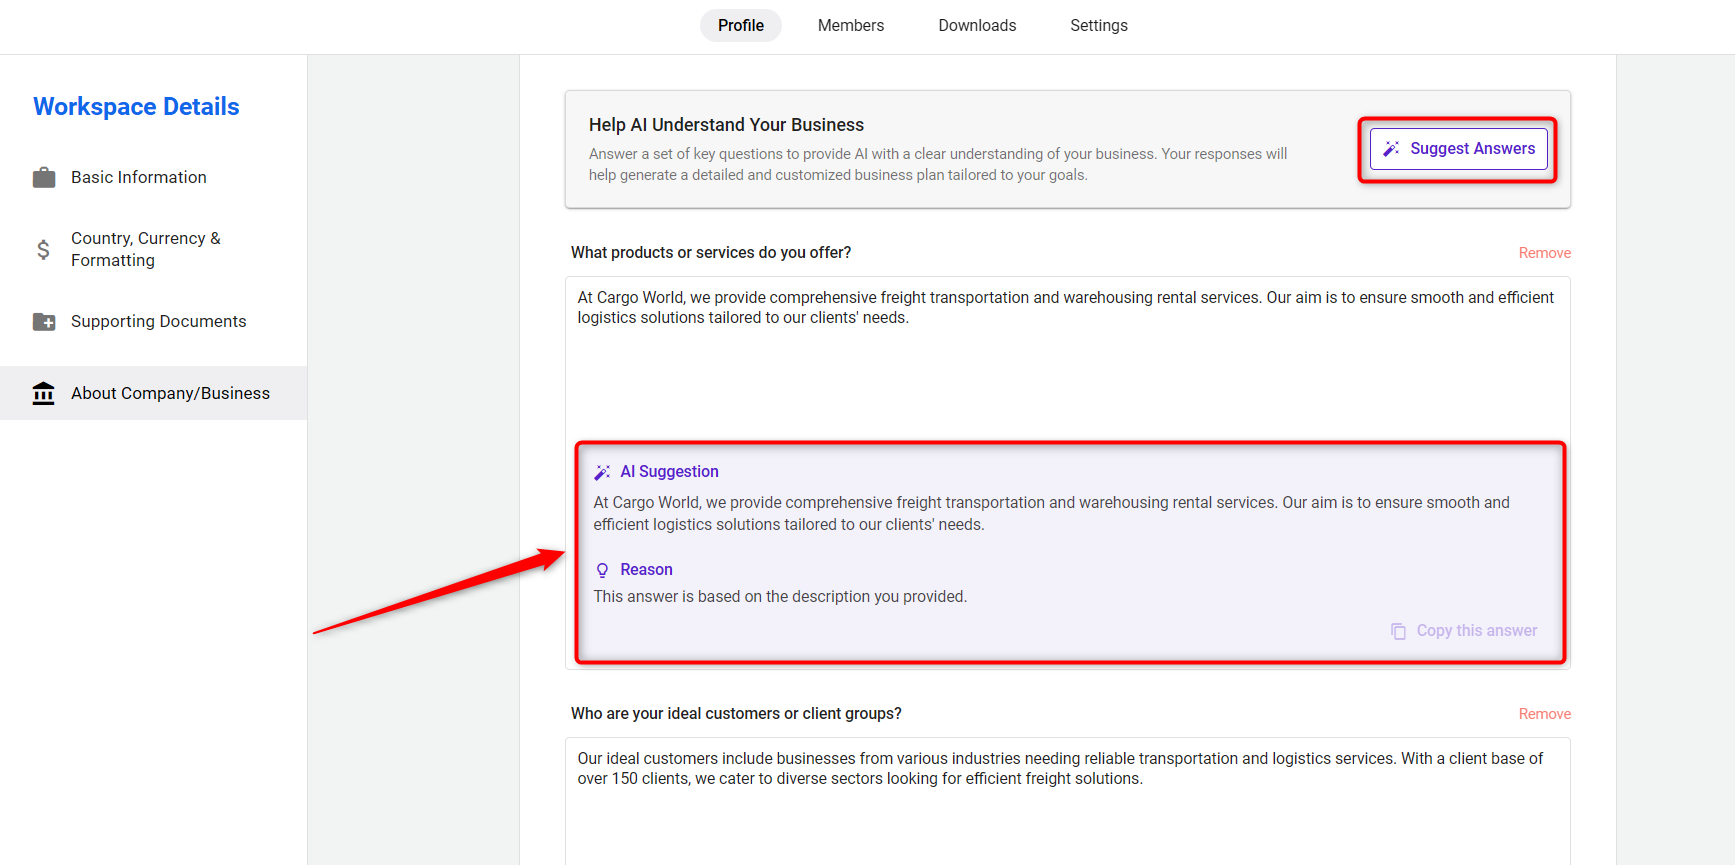
In this section, AI will analyze the details you've already provided to generate a personalized set of questions.
These questions help the AI understand your business better and use your answers to craft a tailored business plan.
You can:
- Answer the AI-generated questions to share key insights about your business.
- Regenerate the entire questionnaire if you'd like a fresh set of questions.
- Remove any questions that are not relevant to your business.
- Add custom questions & answers to give AI more precise information that reflects your unique business needs.
Once you’re done, click Next to move forward.
- 7
-
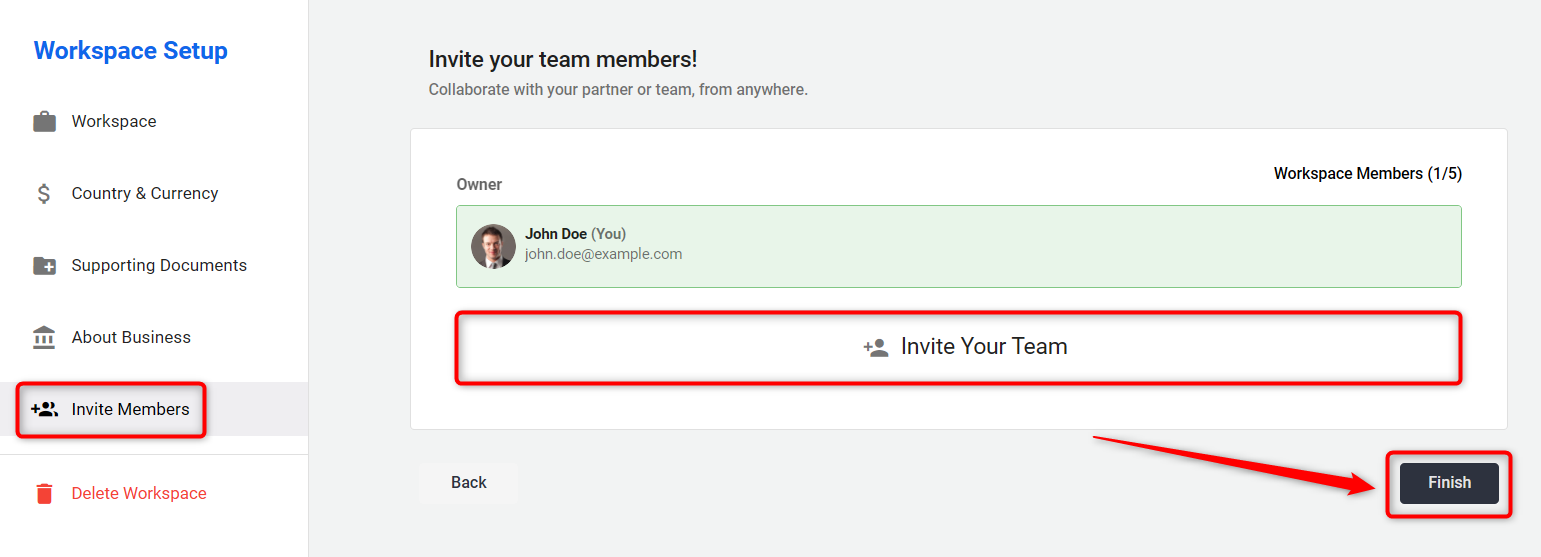
In the final step, under the Invite Members section, you can invite your teammates, colleagues, or business partners to collaborate within the workspace.
This allows everyone to contribute and work together on your business planning in real time.
Click on Finish to complete the workspace setup.
-
Once you click on it, you will be redirected to the workspace menu to proceed further.
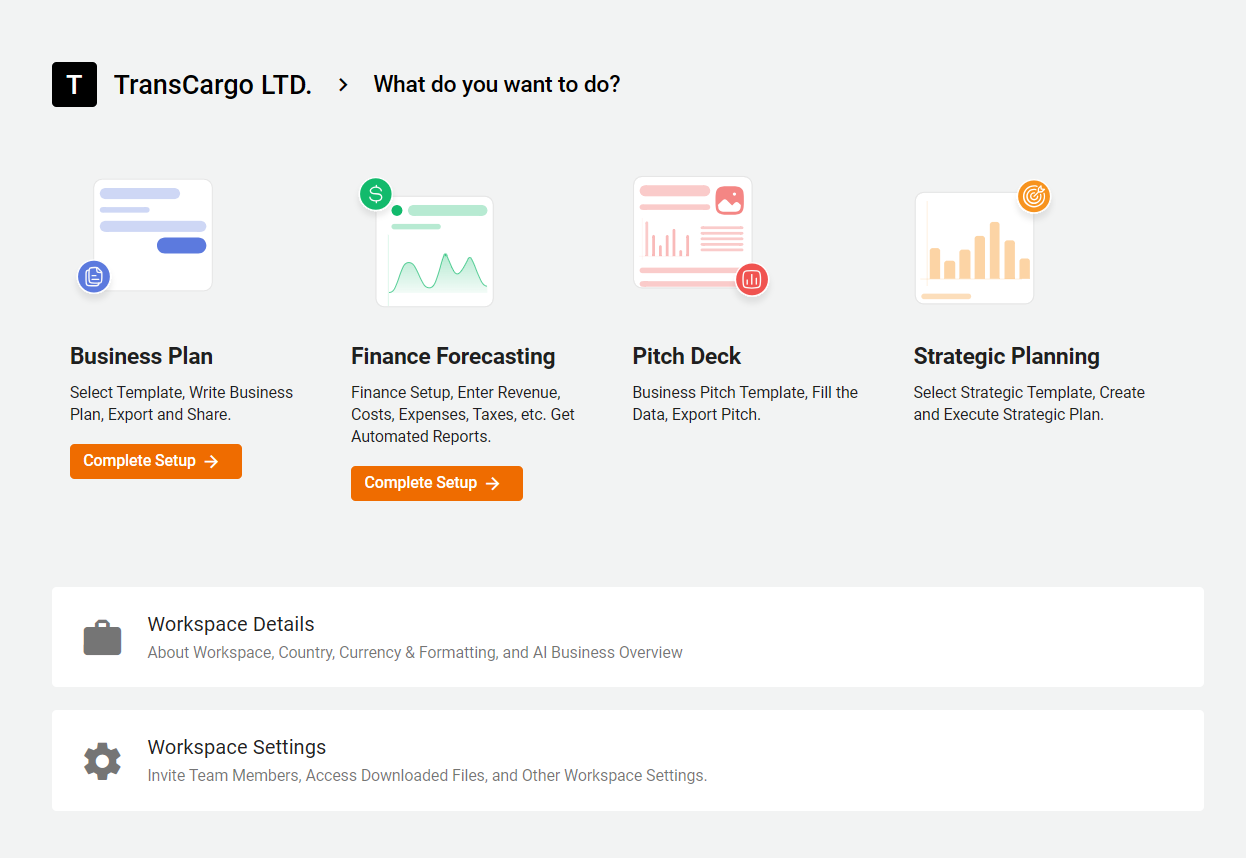


Once your Workspace is set up, move on to writing your Business Plan, Click here to start writing your Business Plan.